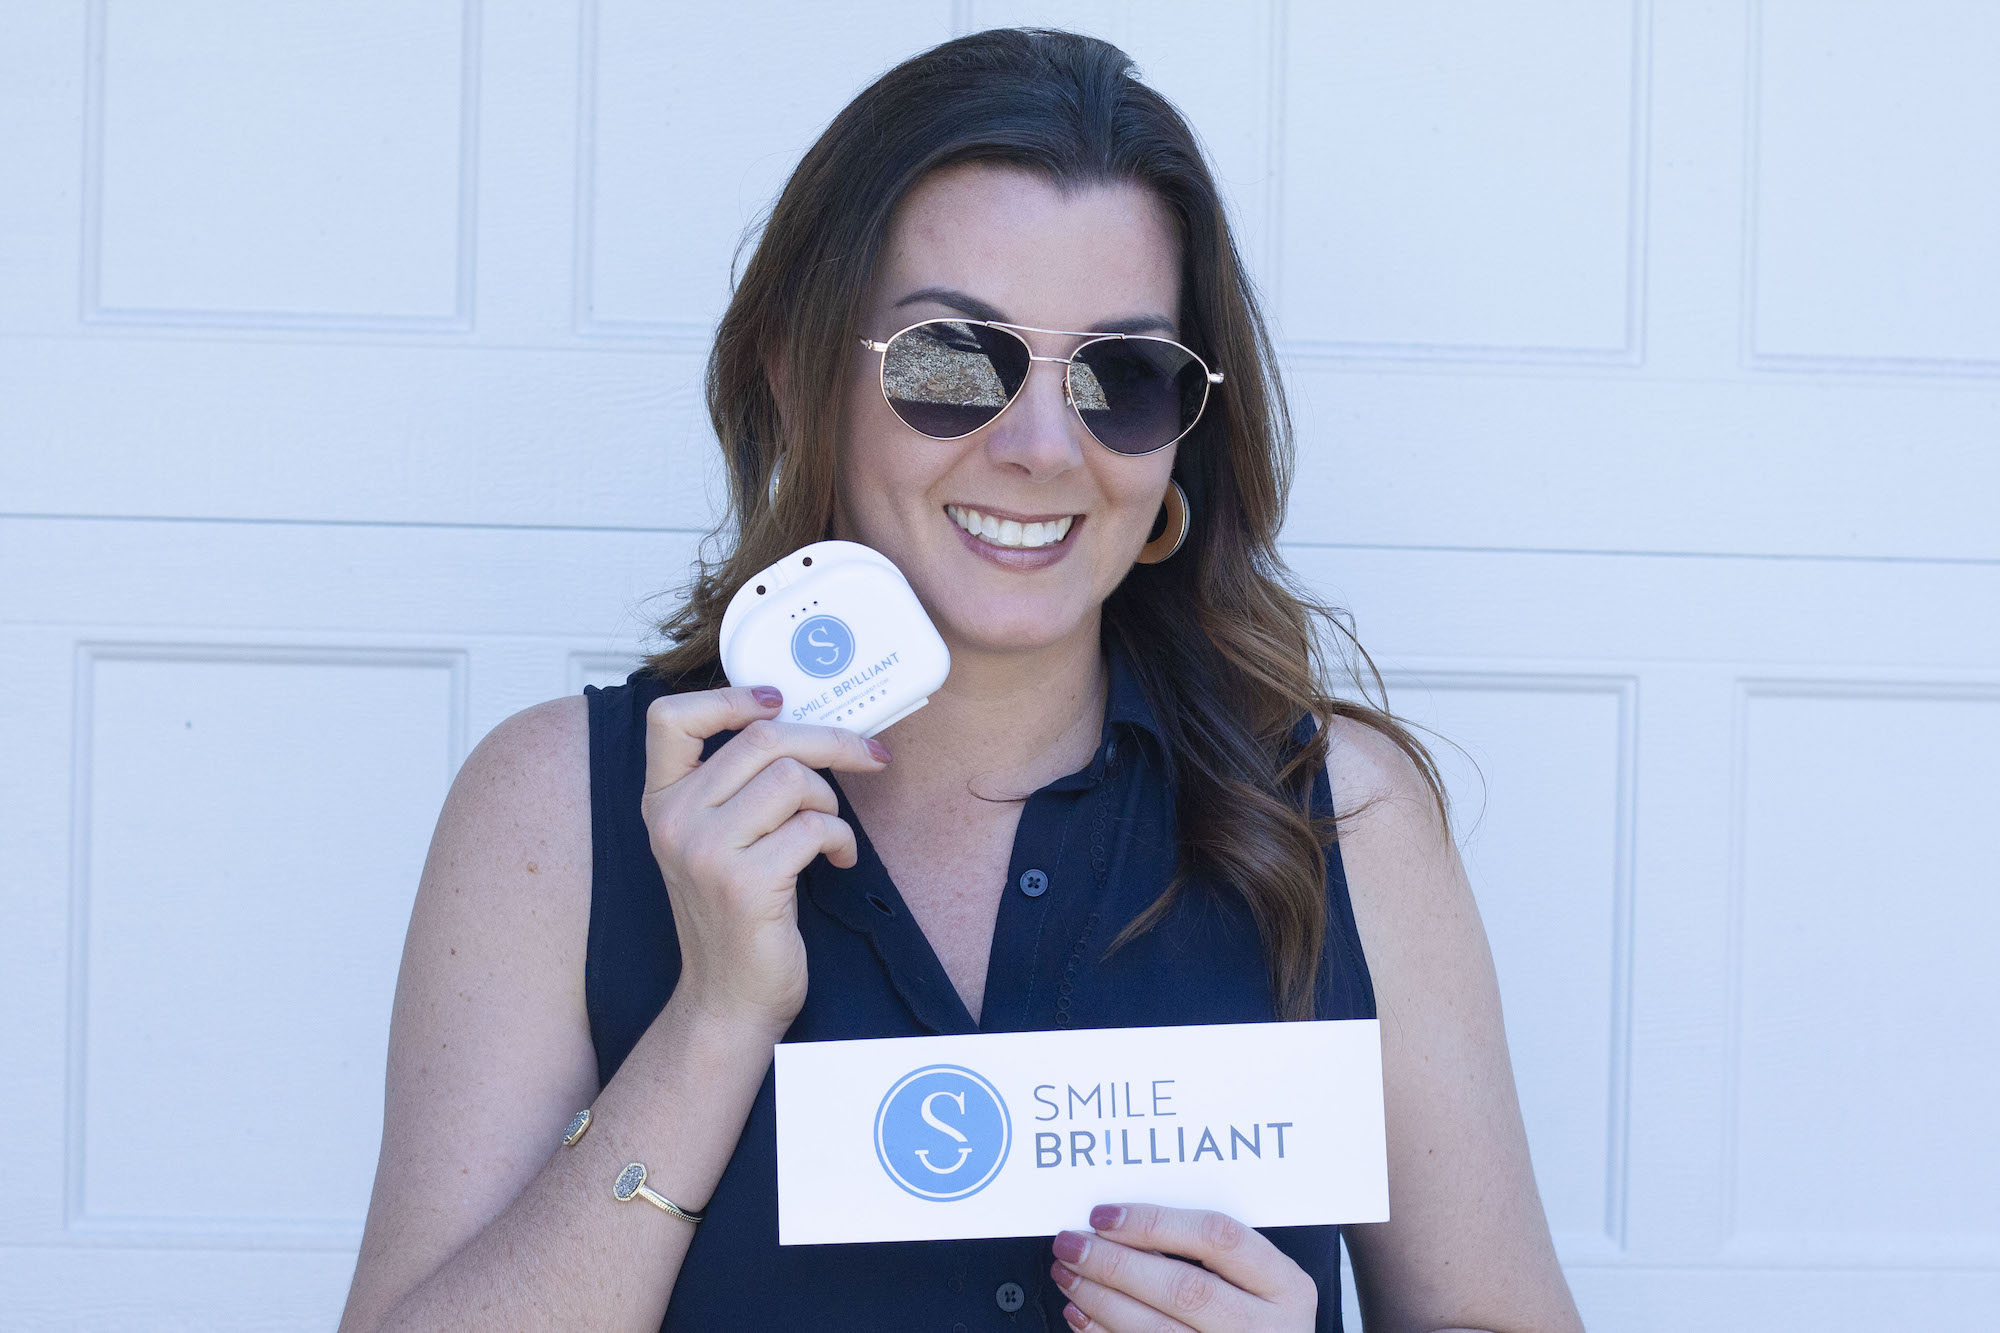
How can we put our BEST foot forward if we have stained teeth? I have always worried about the color of my teeth and the impression that may leave on others. So, when Smile Brilliant reached out to me to try their at home custom tray whitening system, I was more than excited!
Whitening Methods I Tried Before Smile Brilliant
Strips – Haven’t we all tried these? I had fair results with strips, but I noticed that they weren’t good at getting into the crevices of your teeth and the strips would always shift when I was wearing them. The plus about strips is they don’t have to be worn for very long, but you will likely trade time for efficacy.
LED Light – I bought an LED system online and it was relatively cheap. However, it did not work AT ALL! I’ve done a little research since then and found out that they don’t sell the same strength light over the counter as the dentist uses (obvi) – hence the lack of effectiveness!
My Experience with Smile Brilliant
Overall
- I had great communication with the company and they ship on a speedy schedule!
- The packaging was organized and the directions were easy to understand
- They include a lot of information and resources to help answer your questions
- The custom trays are COMFORTABLE!
- I experienced some sensitivity but nothing unbearable
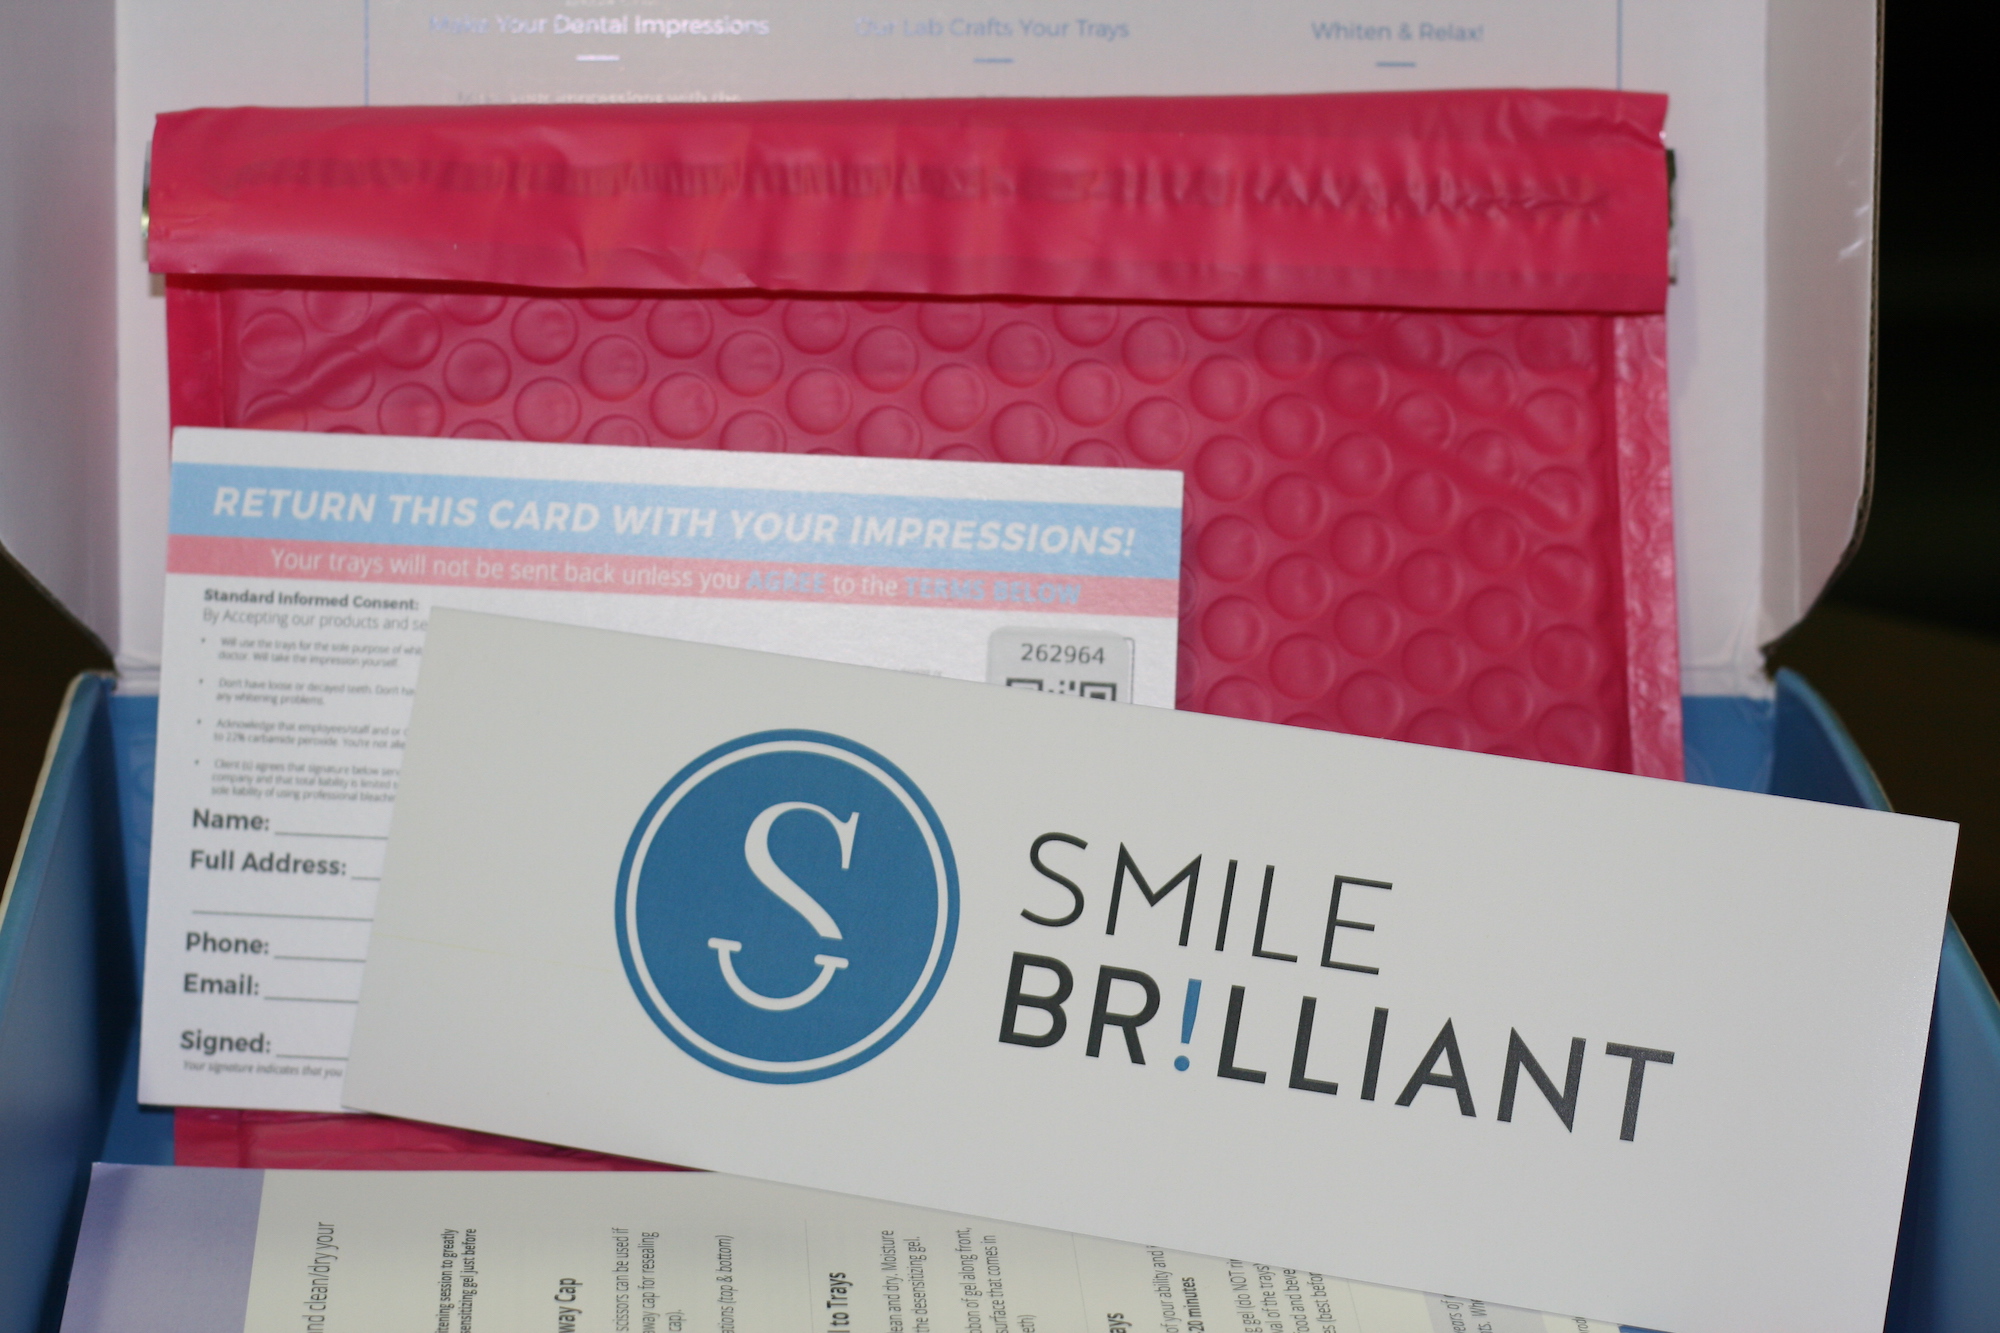
Packaging and the Molds
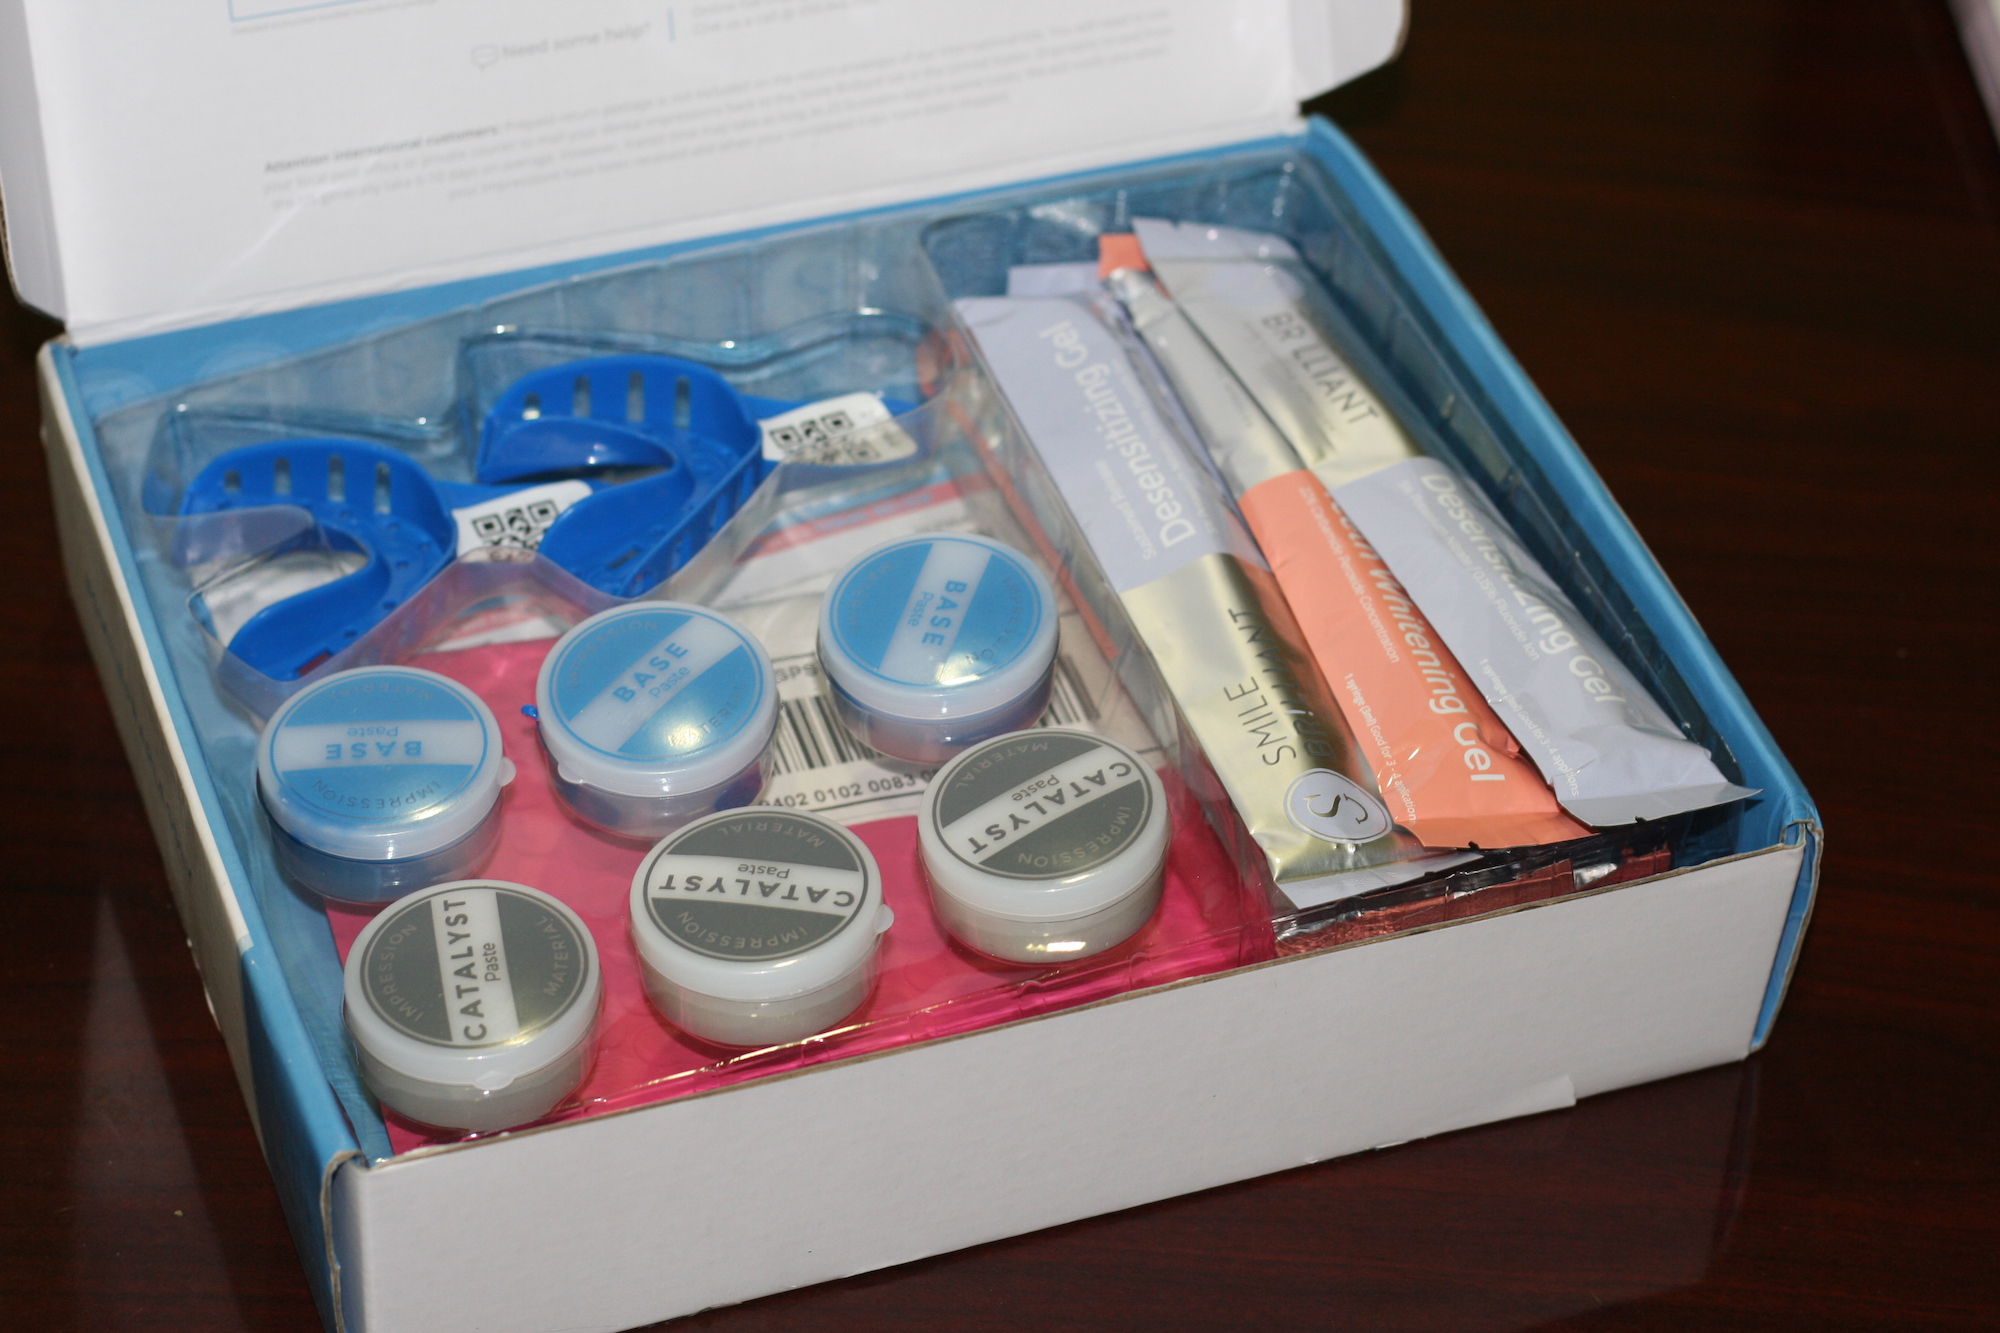
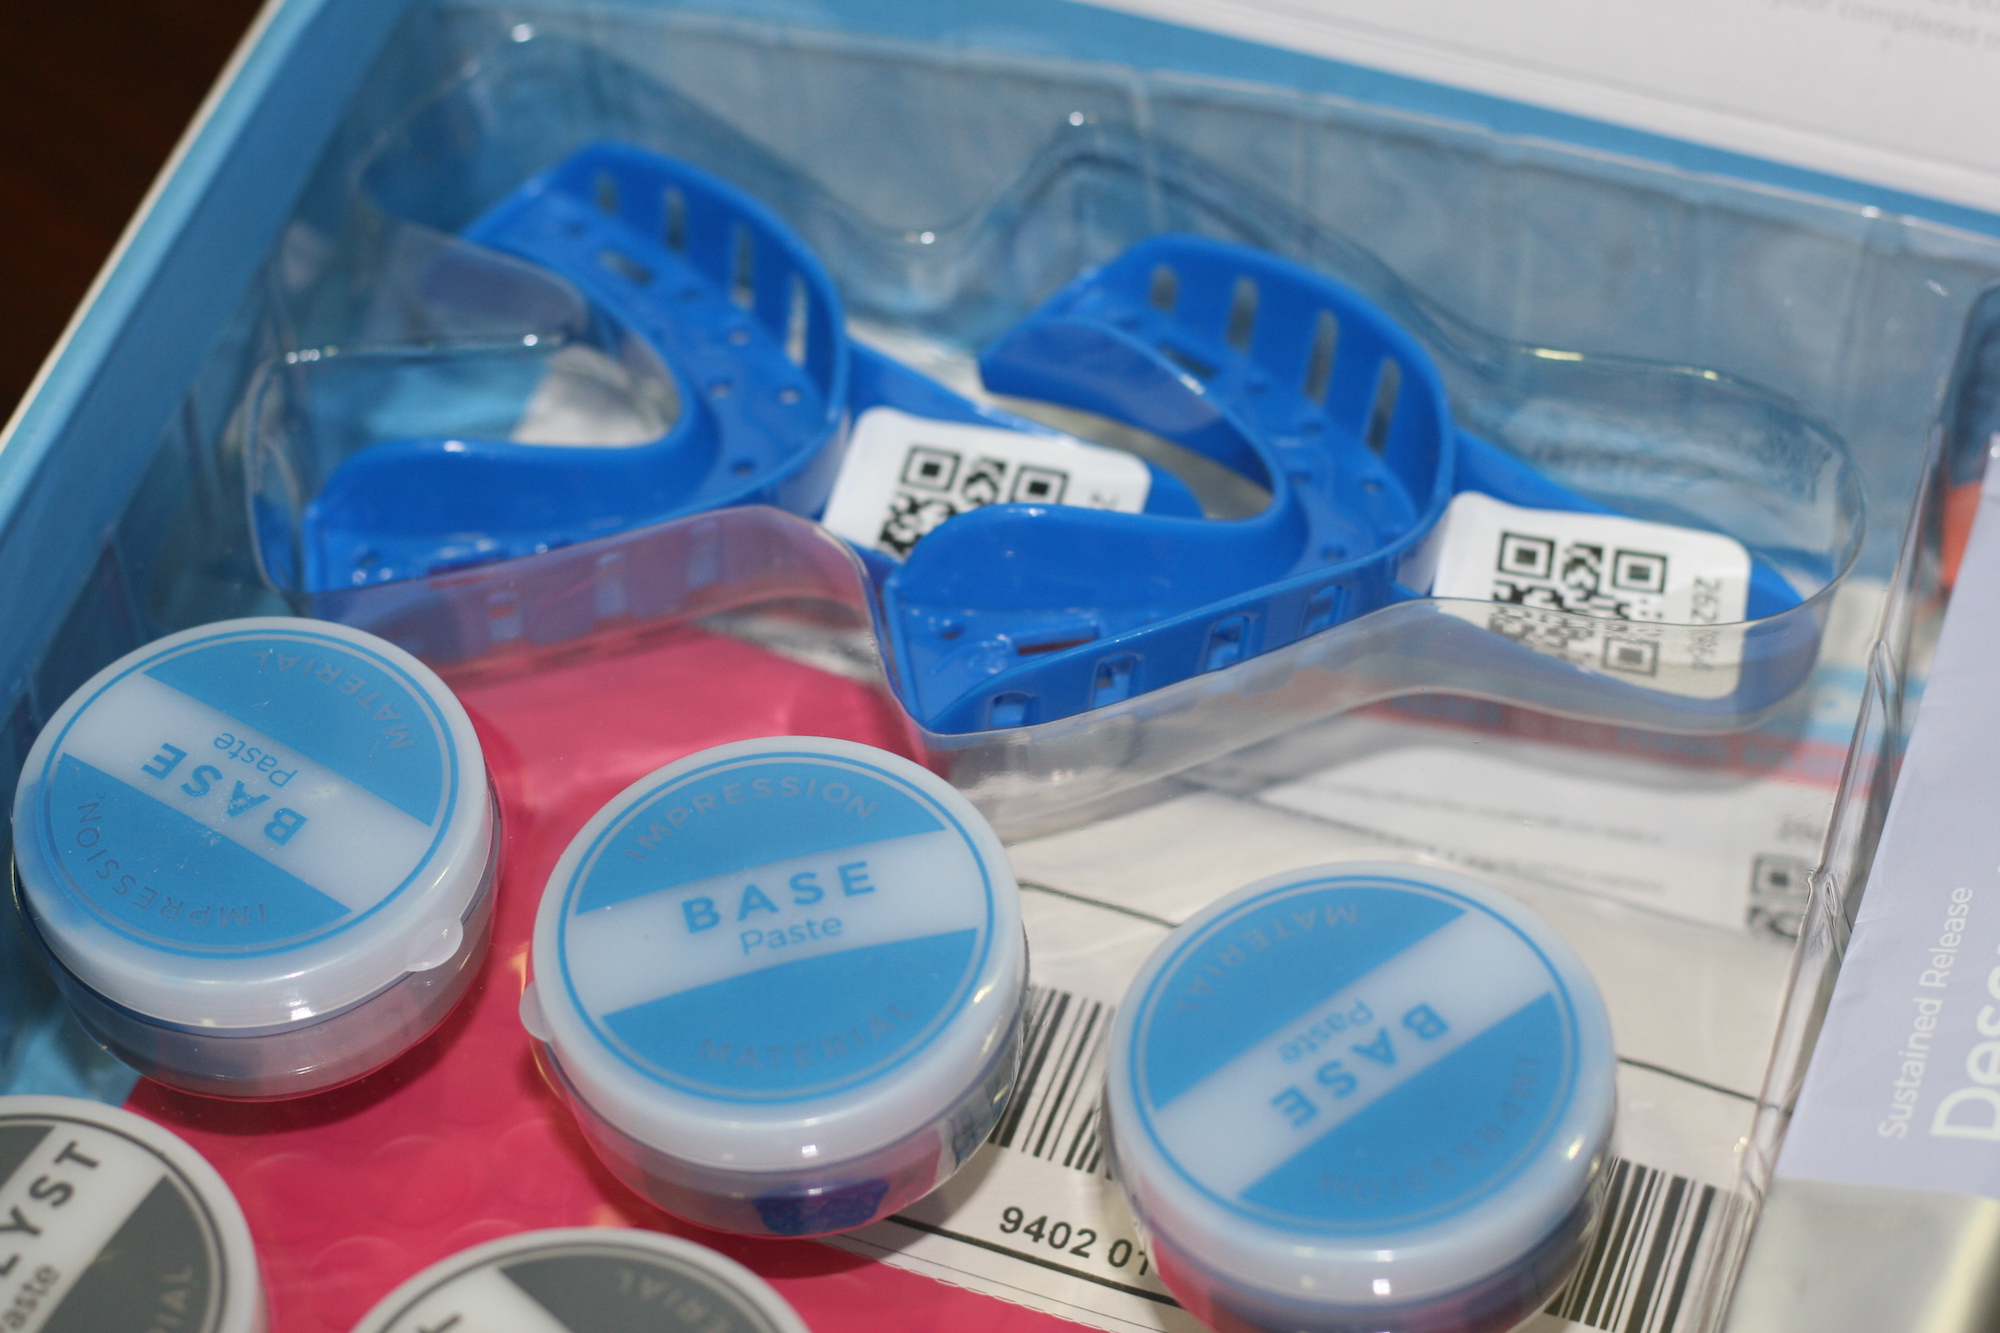
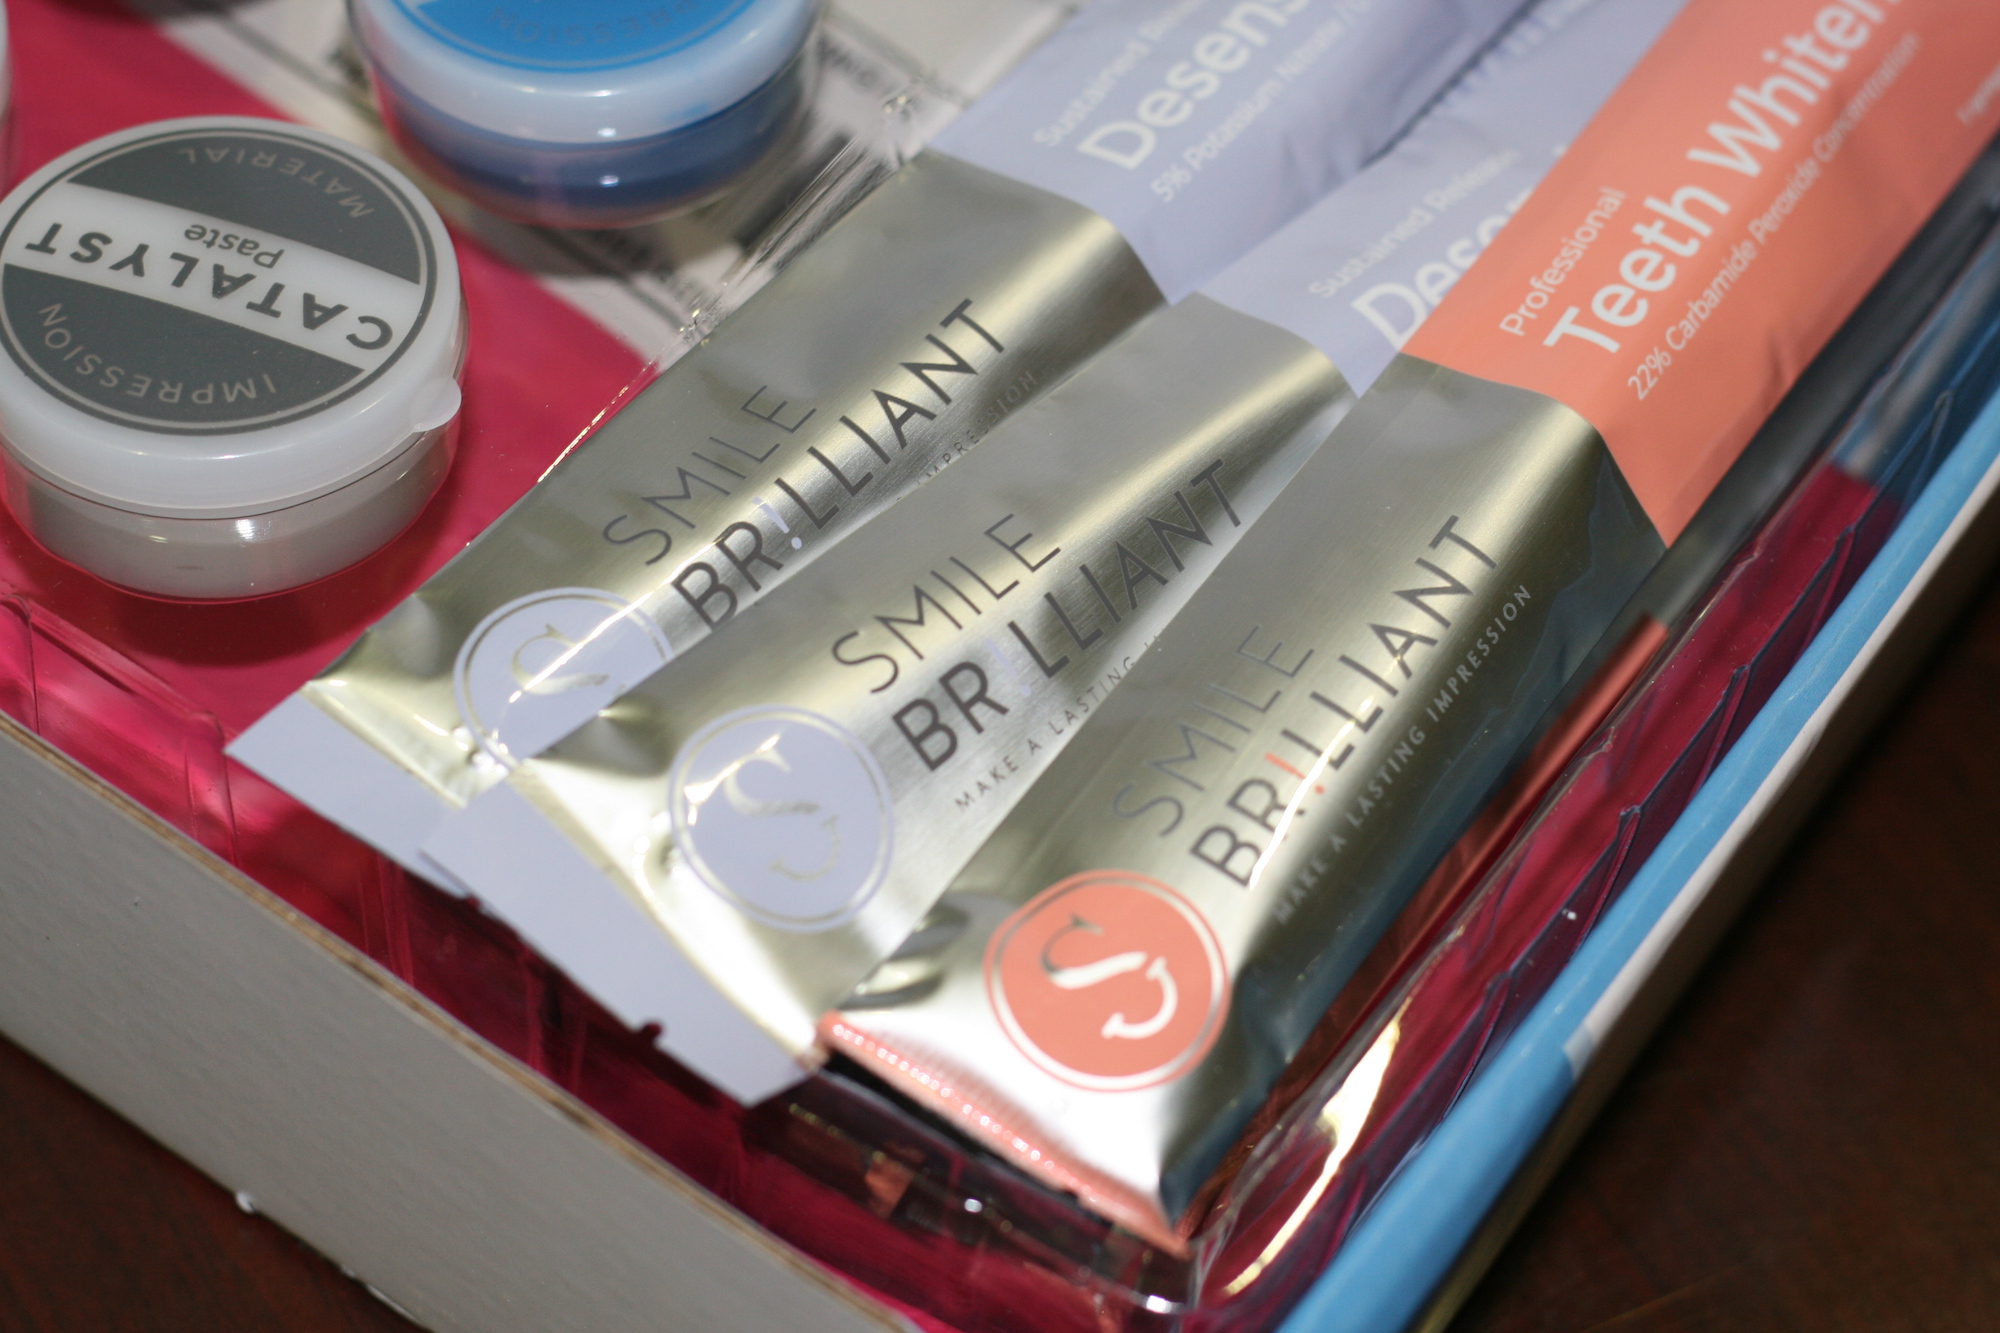
The system includes mold trays, puddy, teeth whitening gel and desensitizing gel. It includes detailed instructions on how to make your molds and it turned out to be easier than I thought! Once I completed my molds I shipped them back in the self addressed envelope that was included in my box. I received my custom made trays approximately 10 days later!
The Whitening Process
The instructions tell you that optimal whitening time is anywhere from 45 minutes to 3 hours. I preferred to whiten for only 45 minutes versus the longer time due to sensitivity. This system is working on a much deeper level (think long term results), but that also means it can cause some people sensitivity. I tried different periods of time and decided on 45 minutes a day, 3-4 times per week. After whitening, I would apply the desensitizing gel the same way and then I was finished!
I found the best time of day to whiten was during the hours between dinner and bedtime. It keeps you from eating immediately afterwards and it was so nice to wake up in the morning and see the results! (Side benefit for me was no snacking after dinner – but my sweet tooth was mad!)
The system includes enough gel product to use again in the future or consistently over time.
Smile Brilliant Results: Before & After
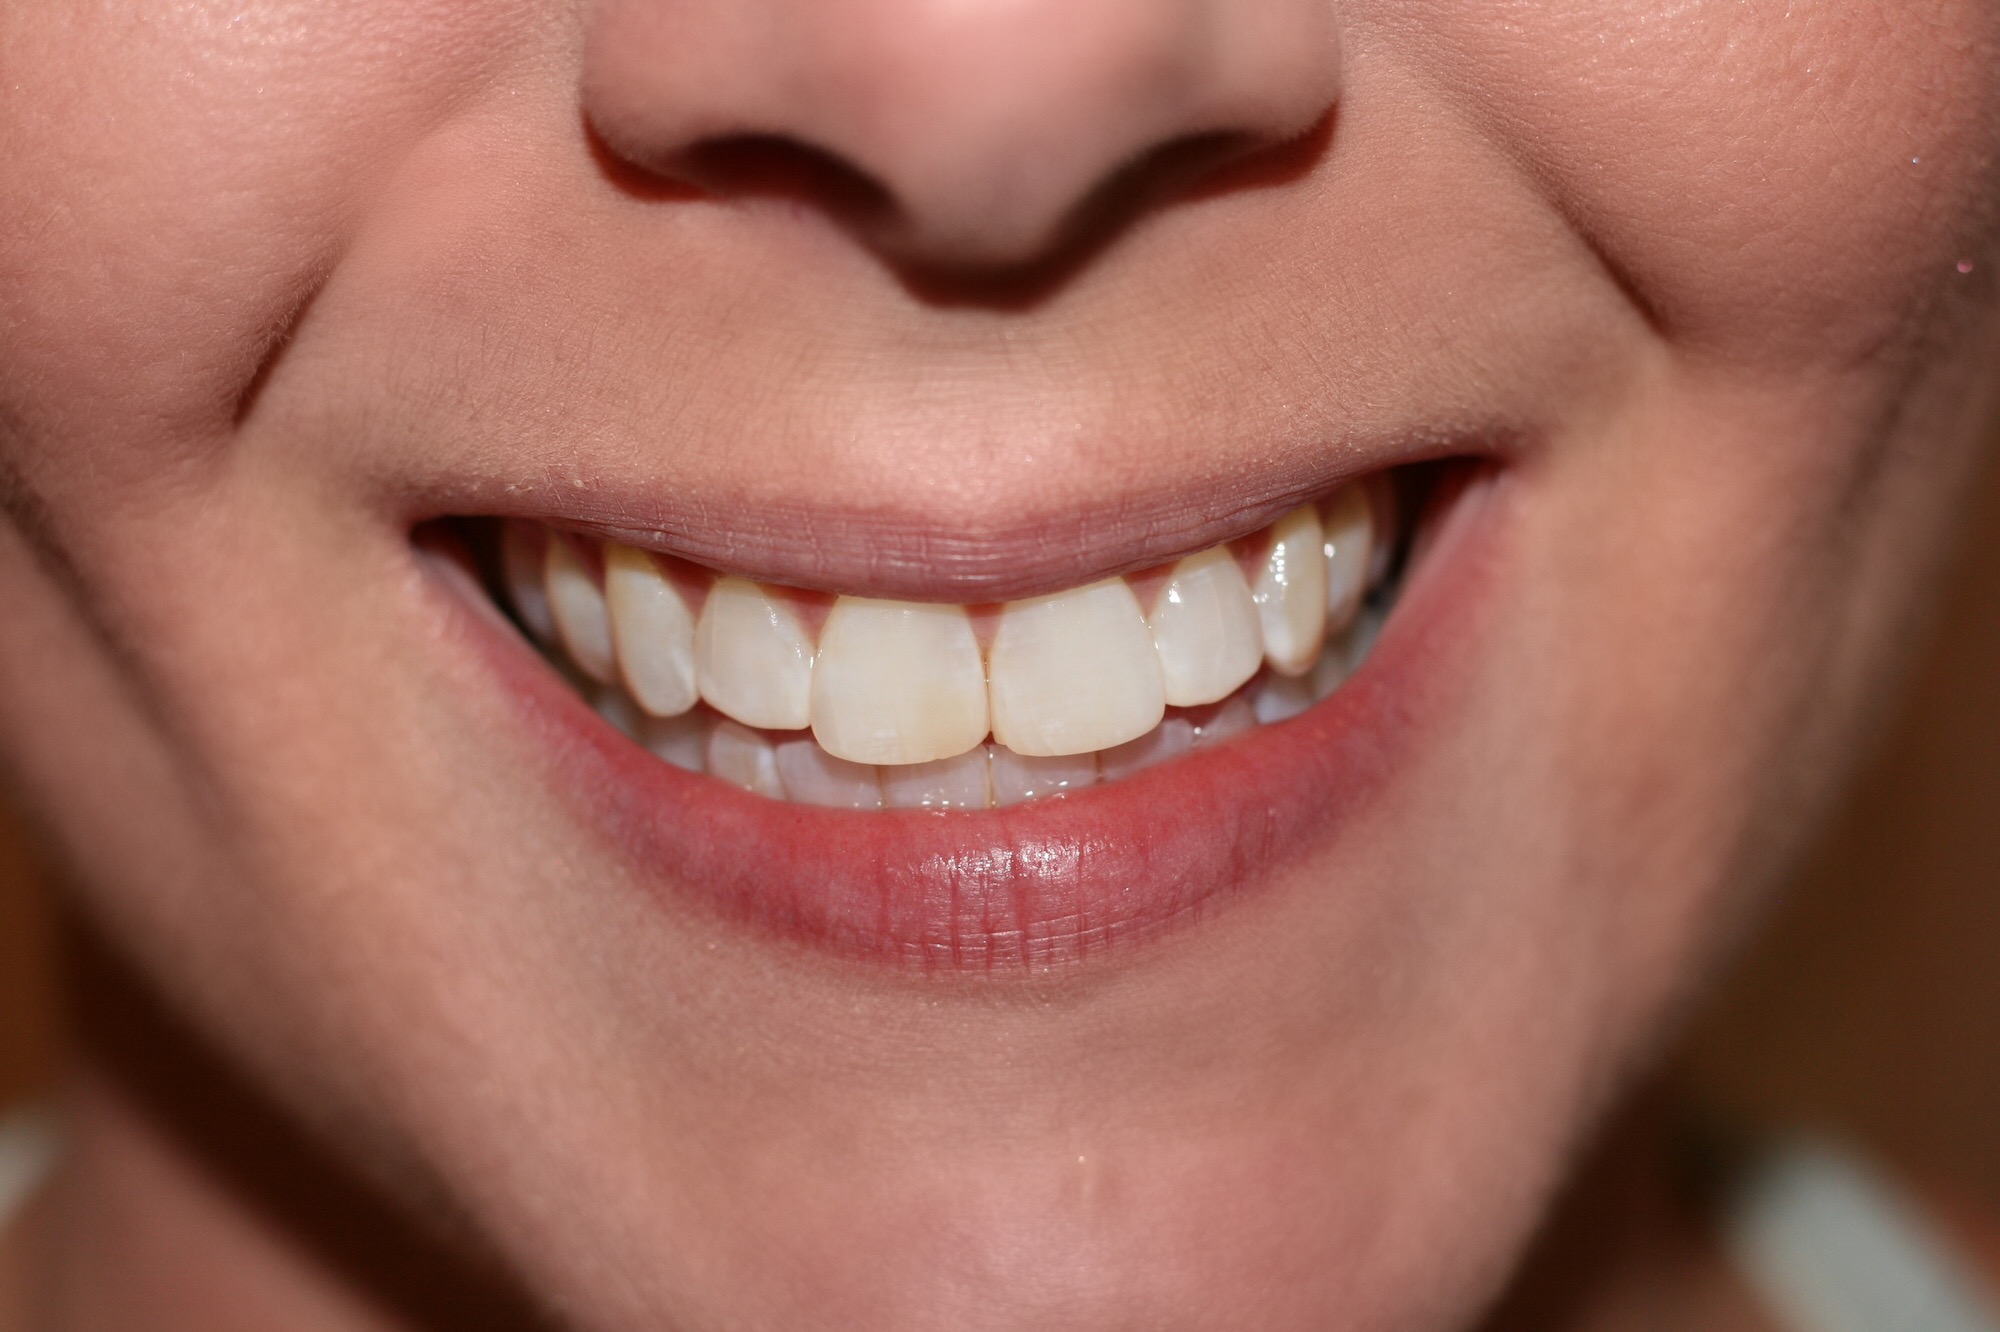
I am a super busy working woman with a million things to do, so even though I wasn’t very consistent about whitening I still had amazing results! I know you are the same, so don’t let the time scare you away! You WILL see results…you can’t screw it up!
Before
After
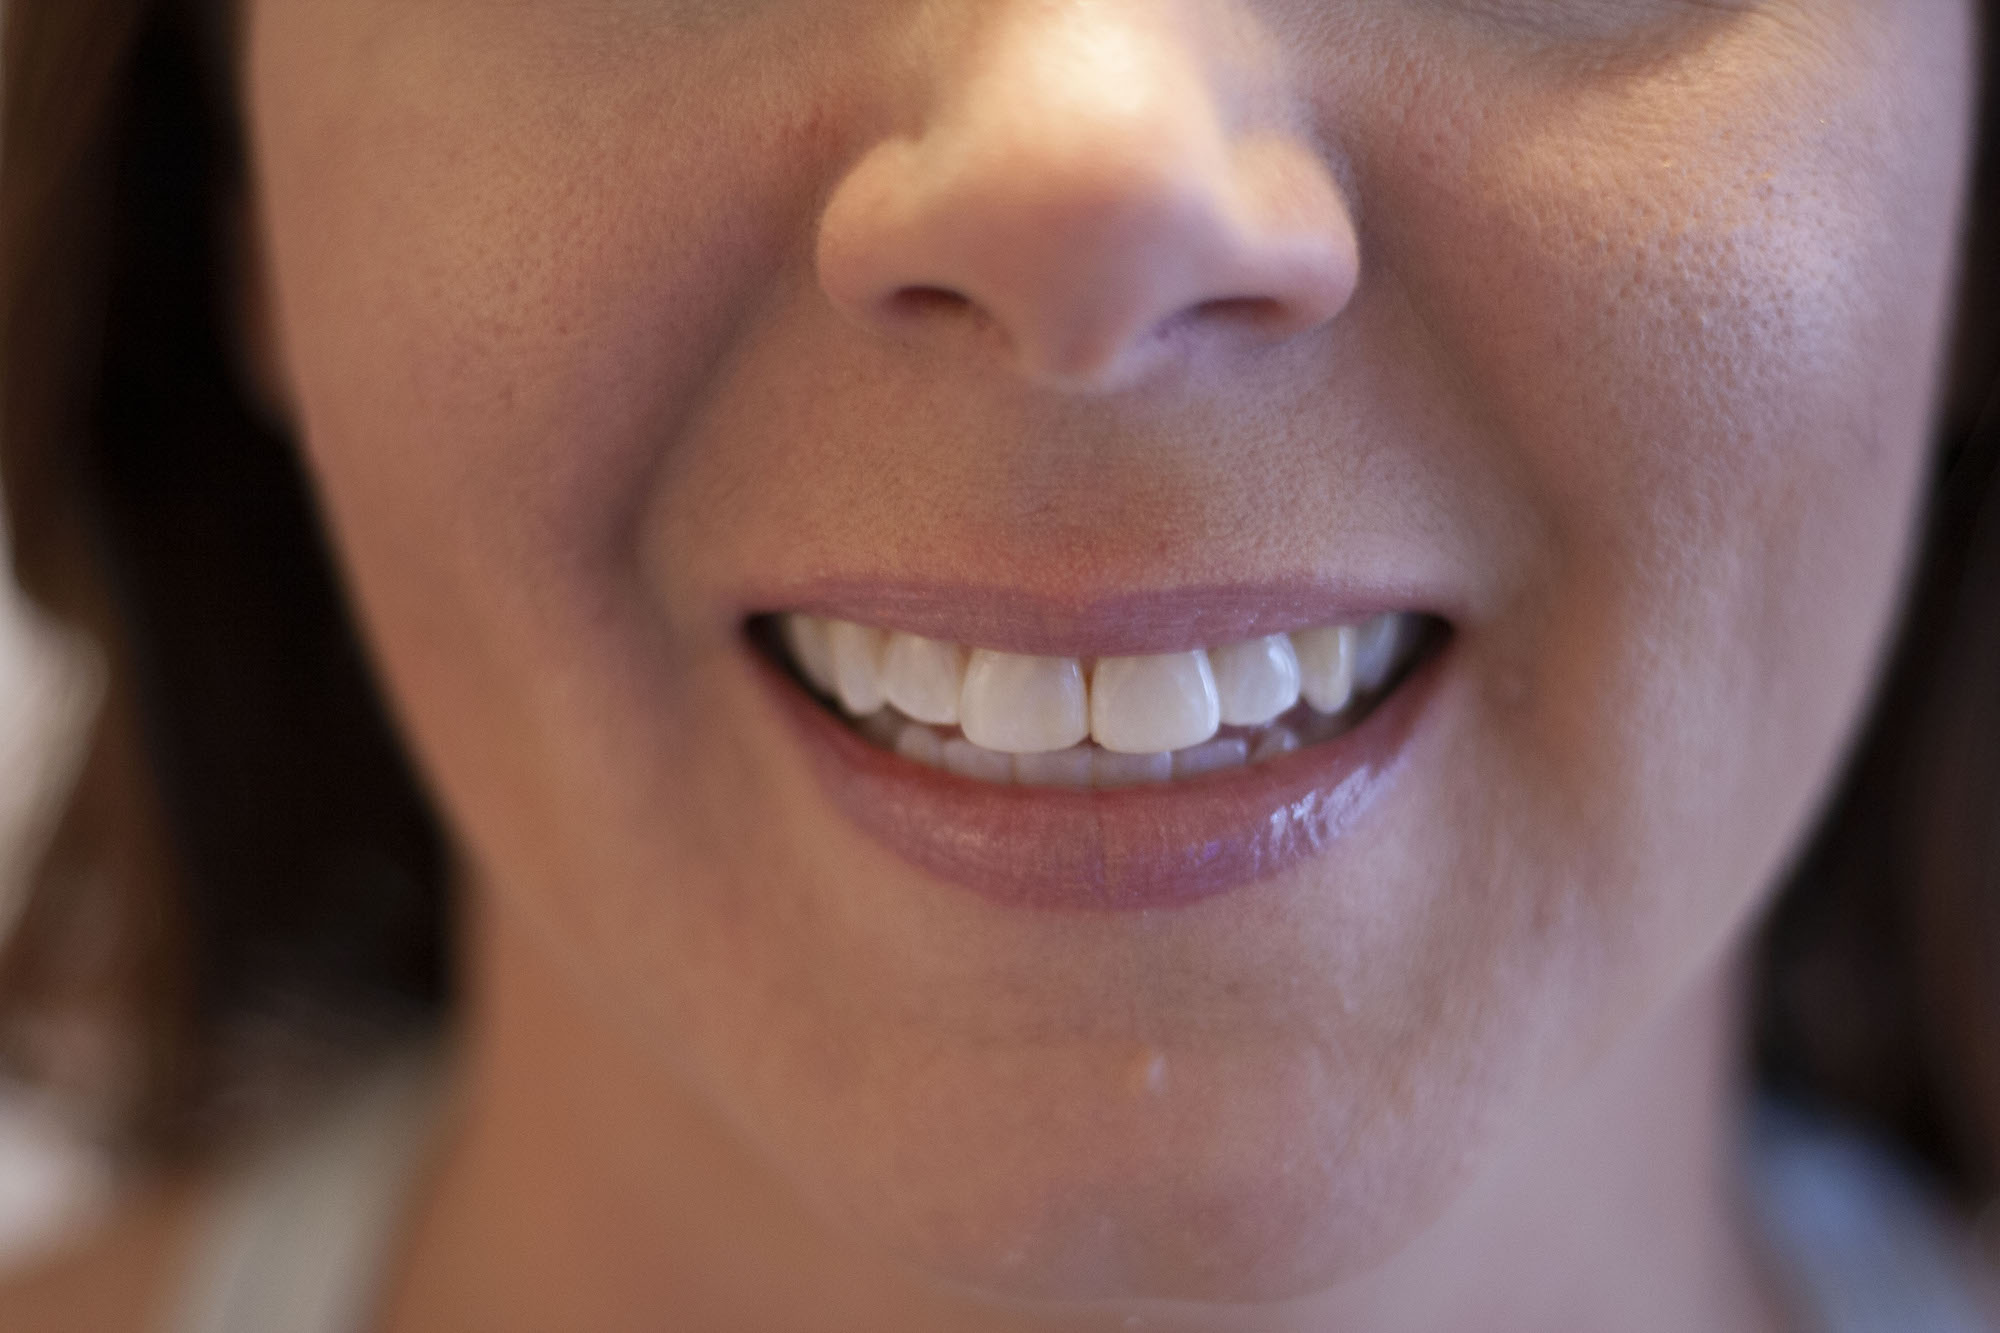
*Before/After photos are NOT edited
Giveaway
I know you are going to love Smile Brilliant as much as I do, so I want you to be able to try it for yourself! Click HERE to enter my GIVEAWAY to win your own whitening system – a $149 value! The contest is open to US, UK, Australian and Canadian residents! If you want to go ahead and purchase your own system now, use code: herbestalways15 for 15% off!
Let me know if you have any questions…and happy whitening!!
